The solver supports boundary lines. Boundary lines are lines you provide, that the solver will not cross. Boundary lines can be used in a variety of ways, as discussed in more detail in the Getting Started | Boundaries page.
Creating and editing boundary lines.
To create boundary lines, you use the Points and Routes tool:

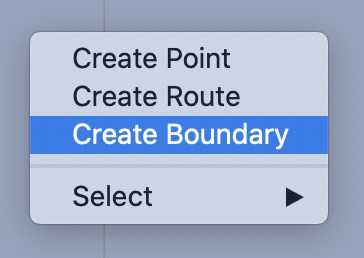
Click down on the map in the area where you want the start of the boundary to be created. When using a mouse, this will be a right click or double click. When using a touchpad, as with a laptop, a normal click is sufficient. When the menu appears, select Create Boundary:
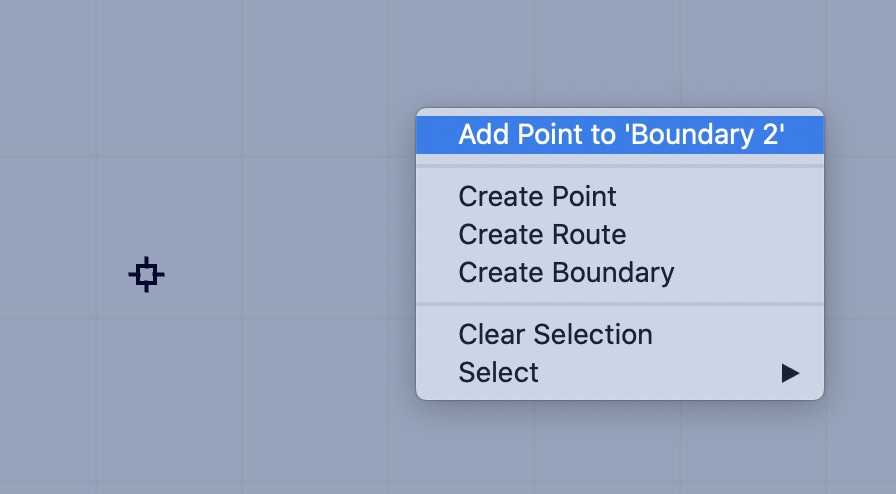
Then click in the area of the other points that form the boundary, and from the menu, select Add point to boundary.
Any of the boundary points can be moved by clicking and dragging on them.
You can insert new points in a boundary line segment by clicking on the line and choosing Insert Point from the menu.

You can delete the boundary using the menu item shown above. Click on the boundary and select Delete Boundary.
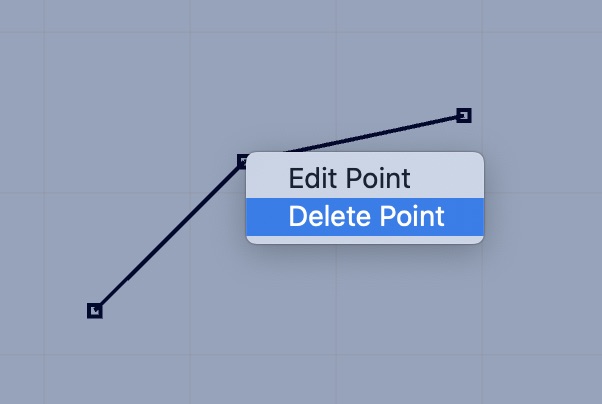
To delete a point, you need to either double click on the point, hold down the control key as you click on the point, or perform the right click gesture by doing a two finger click:
Managing boundary lines.
You manage boundaries through the Routes List. Note that you need to choose Boundaries, from the menu at the bottom of the lister:
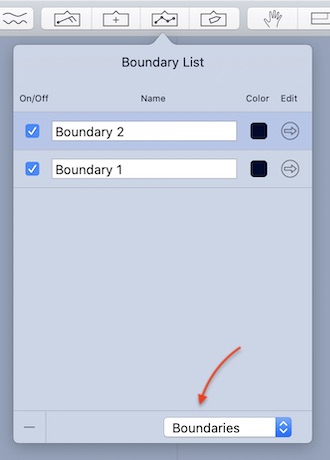
If you have a boundary you want to hide from the solver, this lister is where you can toggle the boundaries visibility. Only visible boundaries are considered by the solver.
You can also change a boundaries name by providing a new name in the editor shown above.
Boundary line properties.
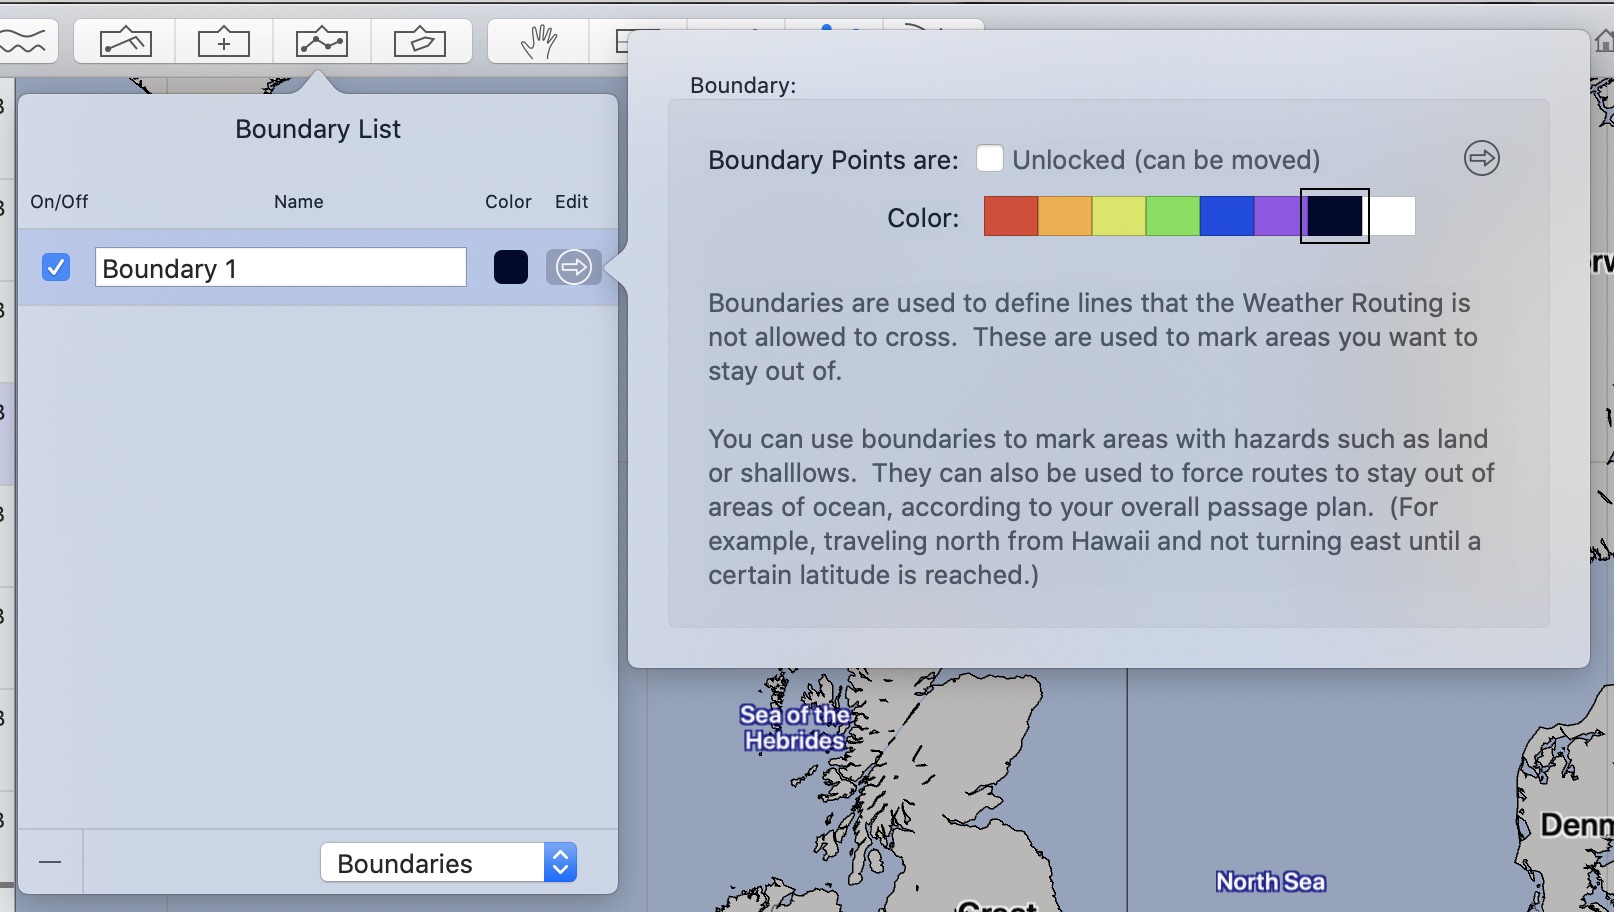
The editor shown above allows you to change a boundaries color, lock its positions from being modified, or examine its points in more detail.