The solver supports boundary lines. Boundary lines are lines you provide, that the solver will not cross. Boundary lines can be used in a variety of ways, as discussed in more detail in the Getting Started | Boundaries page.
Creating boundary lines.
There is a Routes and Boundaries tool, available in the tool area:
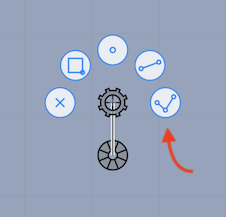
When that tool is active, the buttons toward the bottom of the screen allow you to create routes and boundaries, add points to them, move points, delete points and view some information about them.
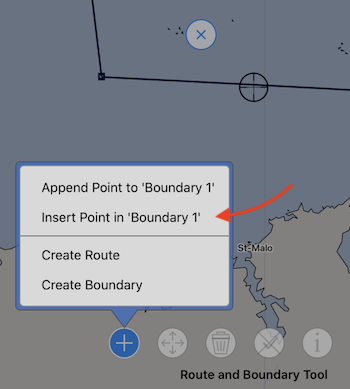
To create a boundary line, first pan and zoom the map so that the cursor is positioned over the starting point of the boundary. Then tap the points button, which will present a menu:
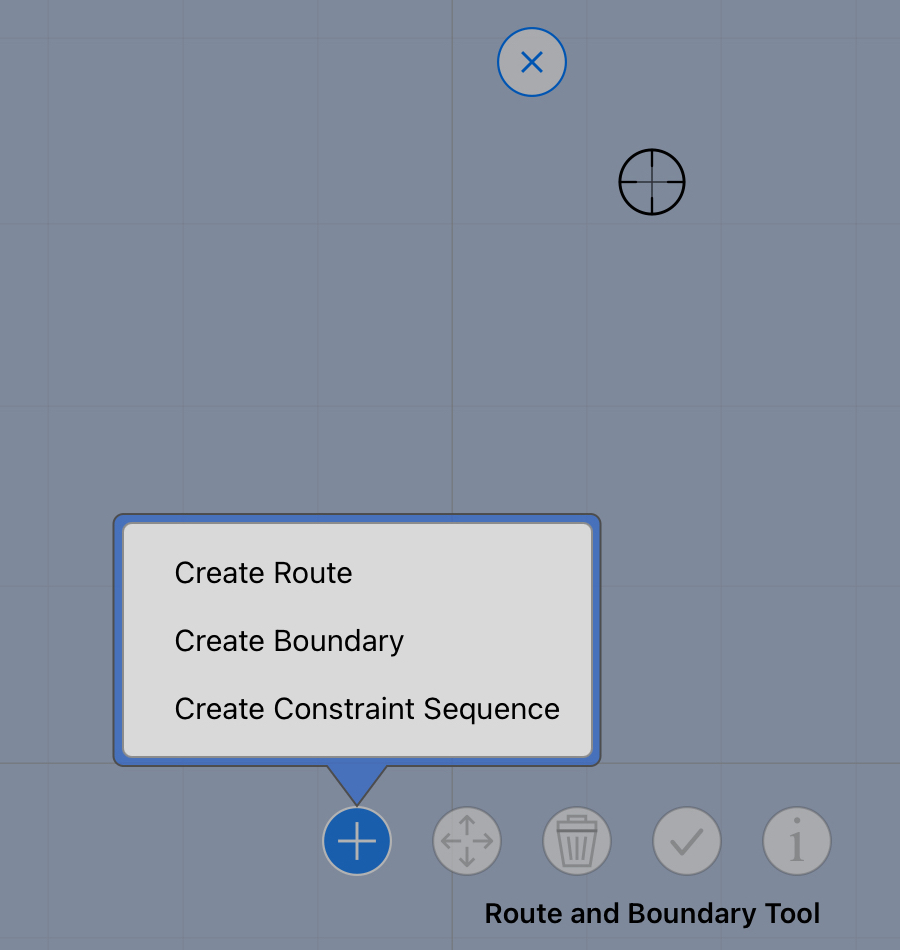
Tap on Create Boundary to start the boundary at the current map locaton. Once a boundary has been created, scroll the map to the second points location and append it to the boundary already started, again, using a menu item in the points menu. Continue this until the boundary has been defined.
Editing boundary lines.
As you pan the map around, the tool buttons will be enabled and disabled depending on what the cursor is on top of.
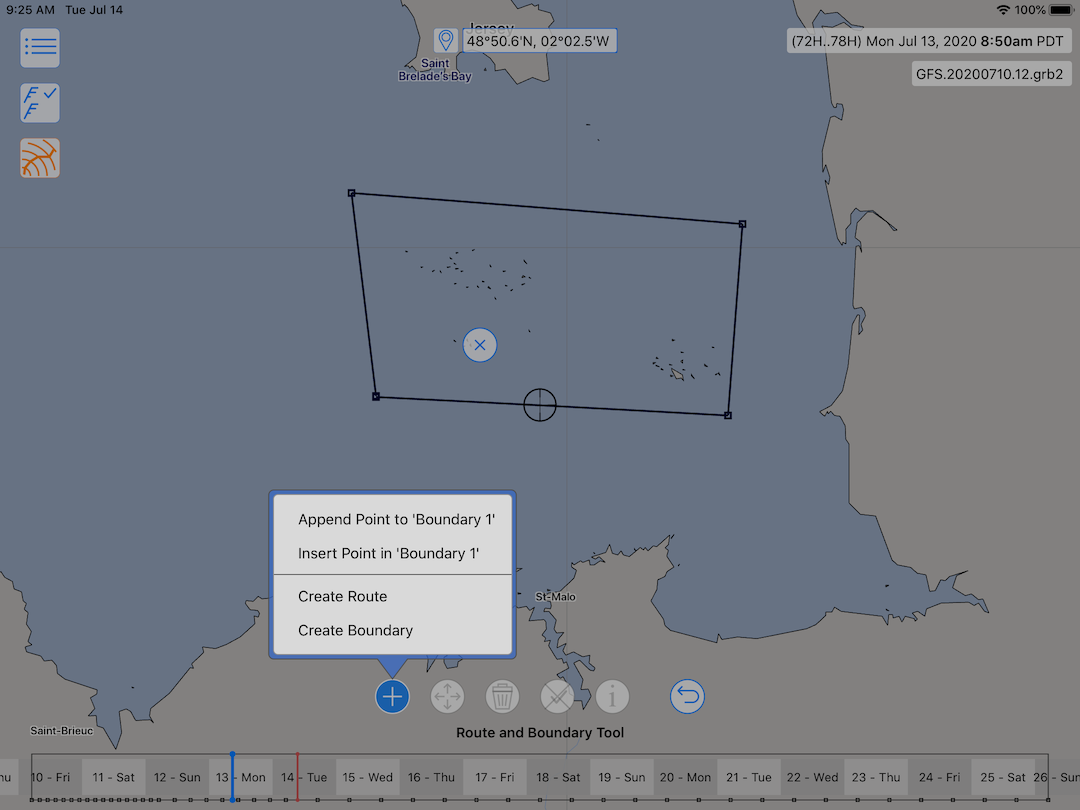
In the image above, the cursor is positioned on top of a boundary line. The options you have at this point are:
tap the points button to: add a new point to the boundary, insert a point into the boundary at the cursors location, or create a new boundary starting at this point.
tap the delete button to delete the entire boundary.
tap the unselect button to unselect this boundary.
tap the info button to rename or delete the boundary.
if the cursor is positioned over a point, the info button contains a menu item that allows you to type in exact latitude longitude coordinates for the point.
Inserting and moving points.
You can insert new points in a boundary line segment by positioning the cursor over the boundary near where you want the point to end up, and then tapping the points button and selecting Insert Point.
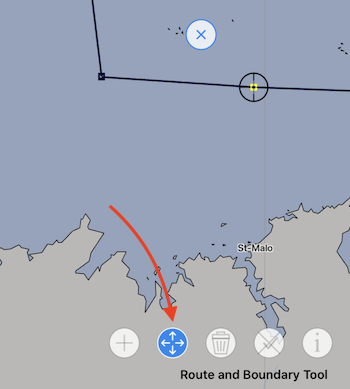
After inserting a point in the boundary, you will want to move it into position. This is done with the move button. First, tap the move button to grab the point, pan and scroll the map so that the point is where you want it to be, and then tap the move button again to release it there.

Deleting points.
To delete a point from a boundary, position to cursor over the point you wish to delete and then tap the delete button.
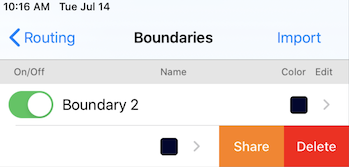
Managing boundary lines.
You manage boundaries through the Boundaries List in the Routing area of the sidebar.
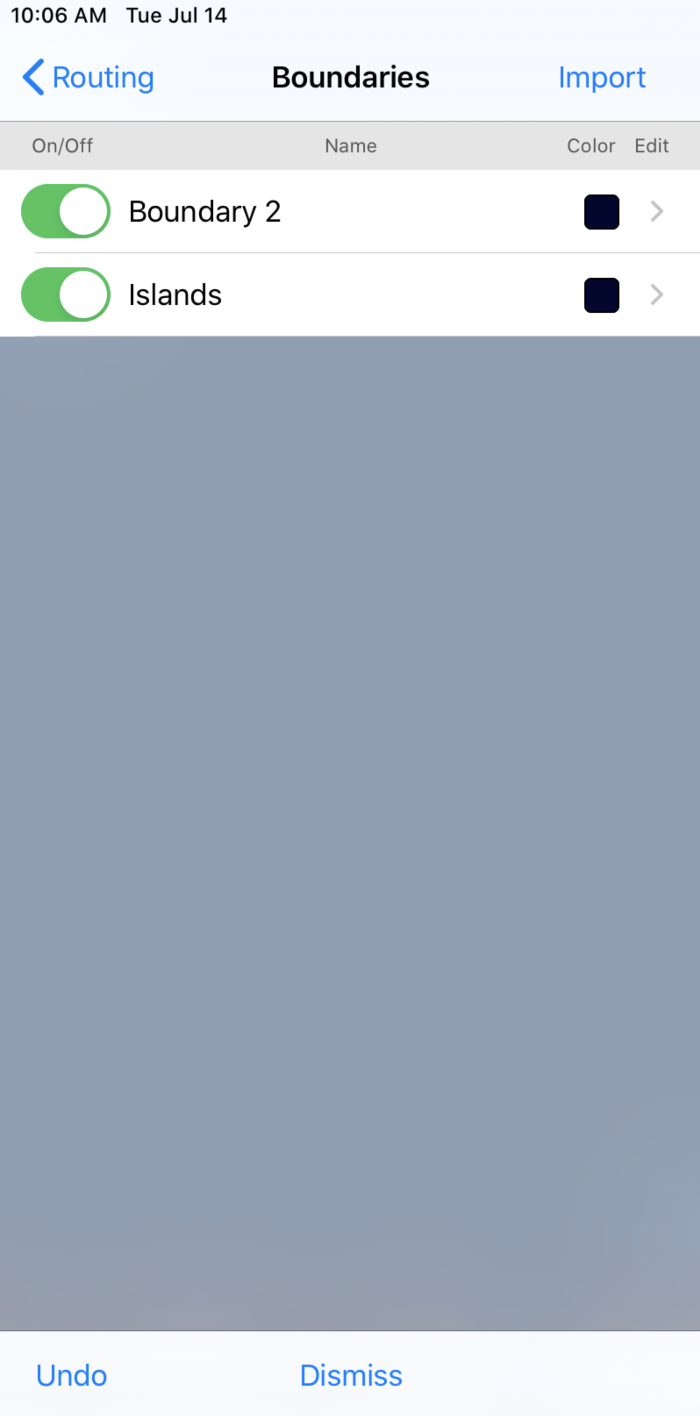
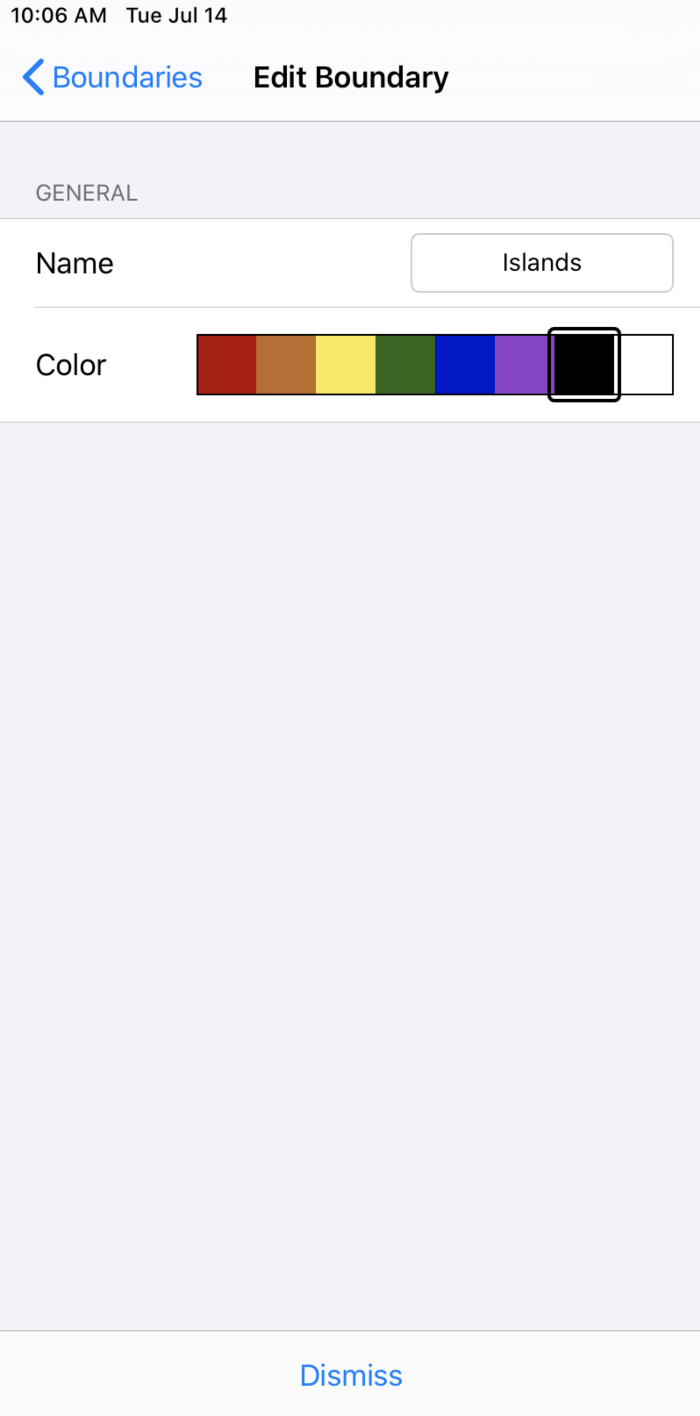
As with other listers in the system, you tap on a row to view a more detailed editor.
If you tap on a boundary row and slide it left, you can delete that boundary, or share its content as a GPX file.