Creating and editing constraint sequences.
To create a constraint sequence, you use the Points and Routes tool:

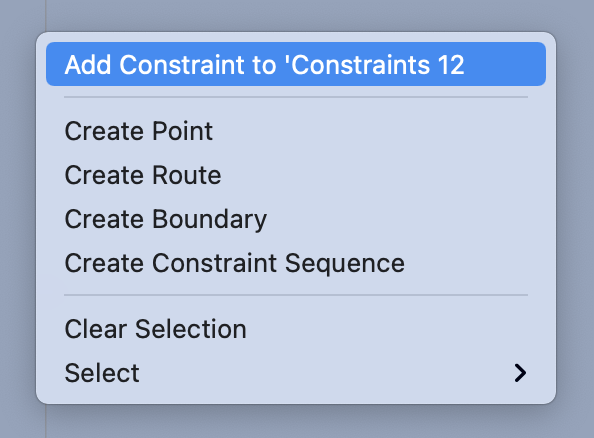
Click down on the map in the area where you want the start of the boundary to be created. When using a mouse, this will be a right click or double click. When using a touchpad, as with a laptop, a normal click is sufficient. When the menu appears, select Create Constraint Sequence:

Then click in the area of the other points that you want to be part of the constraint sequence, and from the menu, select Add constraint to ‘sequence’.
Any of the constraints can be moved by clicking and dragging on them.
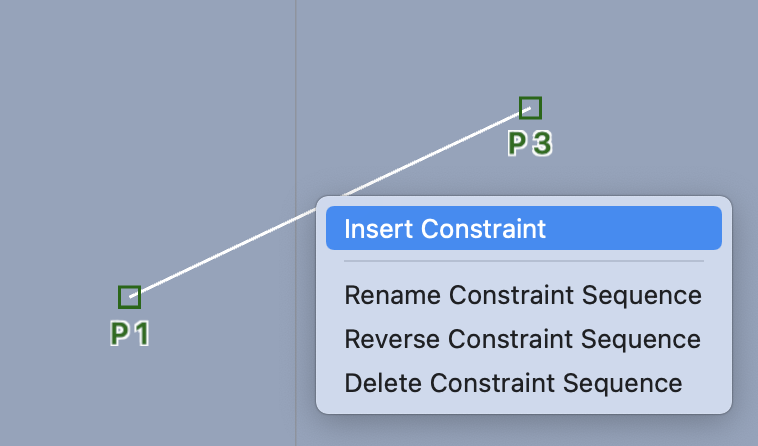
You can insert new points in a constraint sequence by clicking on the line inbetween two points and choosing Insert Constraint from the menu.
It is quite easy to add a new point to the end of a constraint sequence. To add a new point to its beginning, you follow one of these two techniques:
- insert a new point in-between the first and second points, and then move the old first point to the location you wanted to create, and move the second point to the old first points location. or, …
- click on the sequence and reverse its direction. Append a new point at the location you wanted the new start to be. Click on the sequence and reverse it again. Following these steps ends up adding a new point at the start of the sequence.
You can delete the constraints using the menu item shown above. Click on the sequence and select Delete Constraint Sequence.
To delete a point, you need to either double click on the point, hold down the control key as you click on the point, or perform the right click gesture by doing a two finger click:
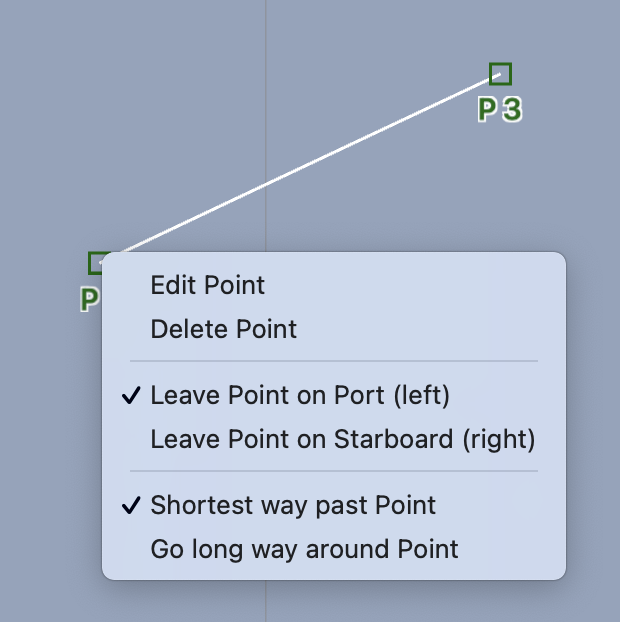
Which side? Long way around?
An important property of a constraint point is whether it is left to port or left to starboard, along with whether the solver is required to go the long way around the point.
As with deleting a point, discussed above, to specify these properties, bring up the menu for a point (by a double click, control-click or ‘right’ click) and then choose the side you want the point left on, along with the long way or short way property.
It is suggested that you only modify the long / short property if the resulting WR solutions require it.
Port / starboard color.
The color of the port and starboard marks is controlled by the IALA Region setting in the User Manual | Application Preferences area.
Managing constraint sequences.
You manage constraints through the Routes List. Note that you need to choose Constraints, from the menu at the bottom of the lister:

If you have a constraint sequence you want to no longer show, this lister is where you can toggle the visibility.
You can change the name by providing a new name in the editor shown above.
Copy.
To create a copy of a constraint sequence, first select it and then click on the + icon in the bottom left of this window and choose Copy Selected from the menu.
To select a sequence, click on its row’s background area. The background area is the area outside of the name text field and the other controls. When a sequence is selected, its row will appear a different shade of blue than the others.
Constraint sequence properties.
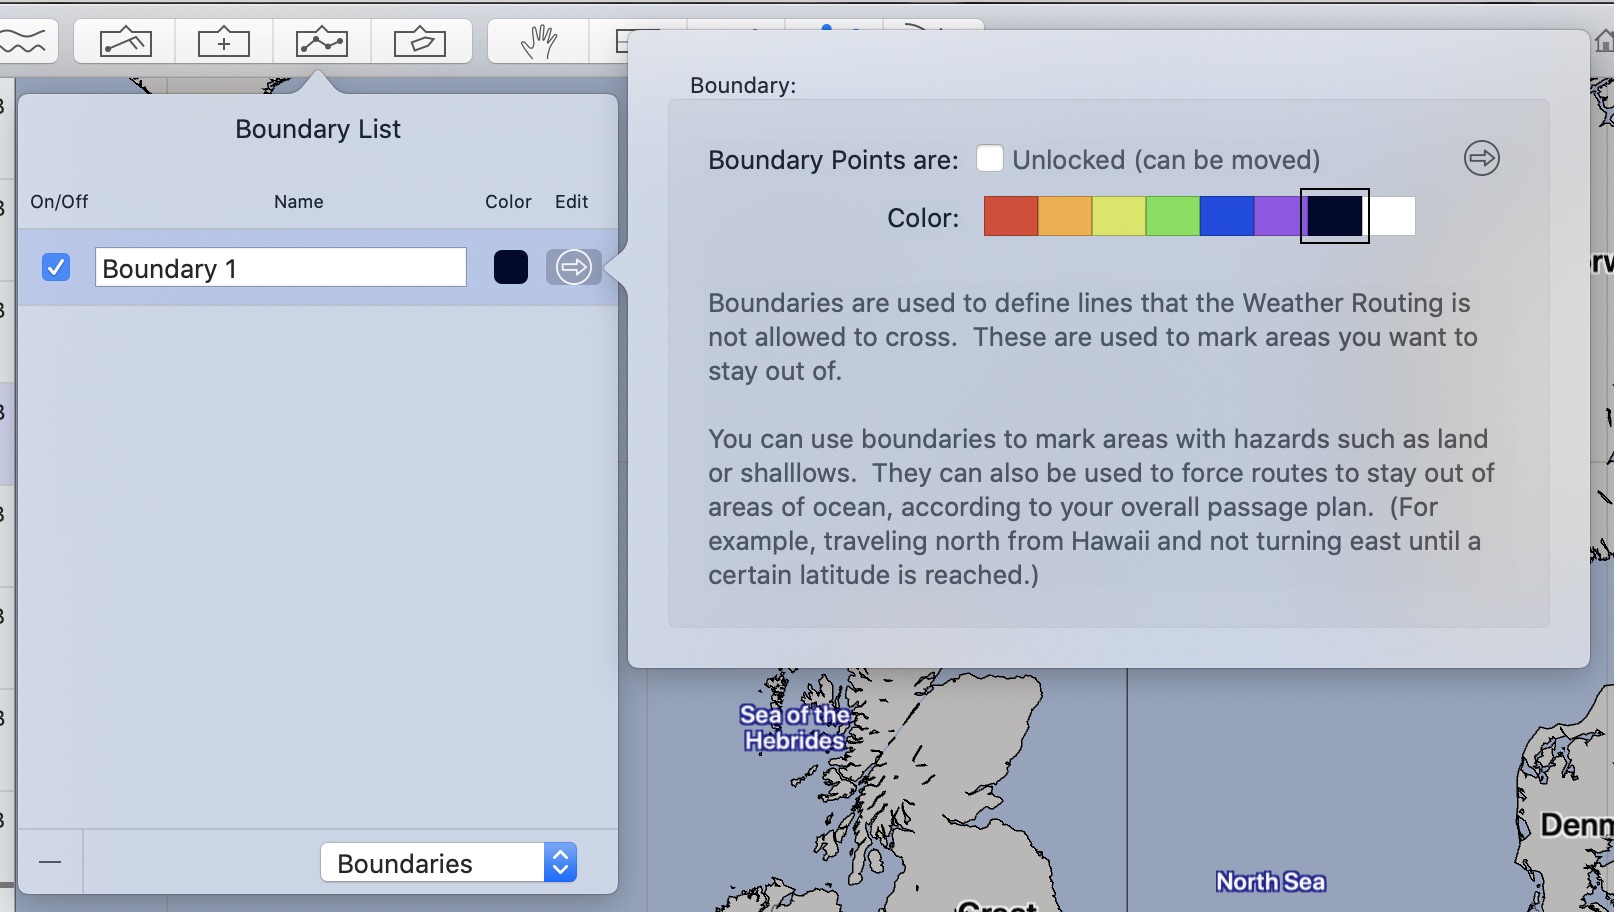
Constraint sequences have the same properties as shown for boundaries, above. The editor shown above allows you to change a sequences color, lock its positions from being modified, or examine its points in more detail.