The Points tool is used to create way points.
Undo is supported for all of the following operations.
Creating points.
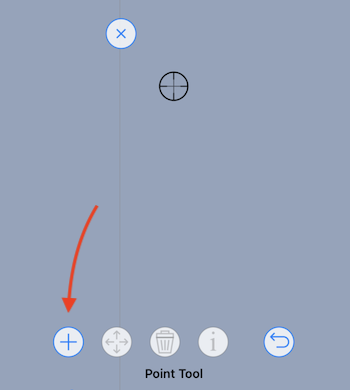
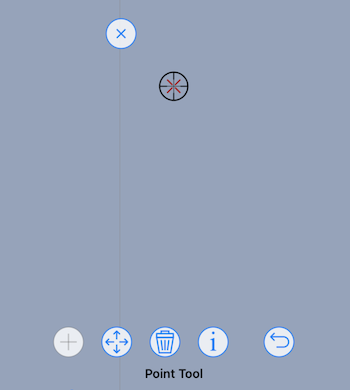
After selecting the points tool, pan and zoom the map so that the cursor is positioned over the location you want to create the point. To create a point, tap the add button.
Deleting points.
To delete a point, position the cursor over the point and then tap the delete button.
Moving points.
You can move the location of a point interactively, or by typing in a new latitude longitude for the point.
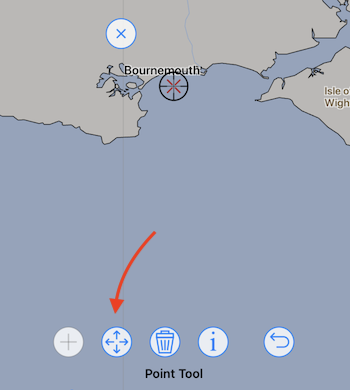
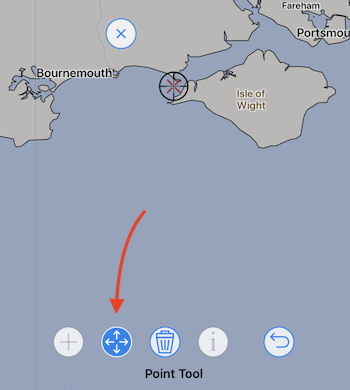
To move a point interactively, first pan and zoom the map so that the cursor is positioned over the point. When the cursor is over a point, the move button will be enabled. Tap the move button to grab the point, pan the map to the new location and then tap the move button again to release the point.
Editing points.
The point can also be edited using an editor available by tapping the edit button. First position the cursor over the point you want to edit, and then tap the button.
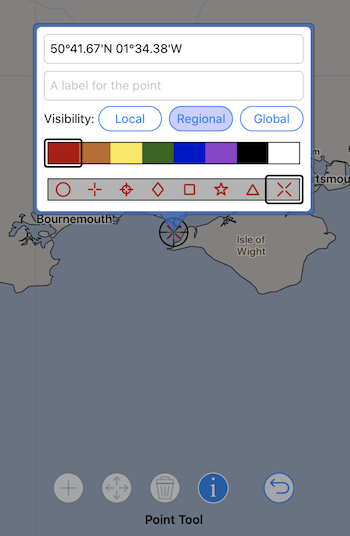
This editor allows you to:
- edit the points location by providing a new value.
- give the point a label. Labels are drawn in the view.
- specify the visibility for a point, described below.
- change the points color.
- change the symbol used to draw the point.
To reposition the point when the editor is shown, simply type in the latitude / longitude you want into the top field. The coordinate can be entered in a variety of ways, the editor is quite flexible. Each of the following lines of input create the same point:
35 30 s 134 15 e
35 30 134 15 se
35.5 s 134.25 e
Point visibility.
You can specify the visibility for a point, which can automatically hide and expose a point depending on the map zoom level. The three visibility levels available are:
global. Global points are displayed regardless of the map zoom level. Use this value for points you want to always be visible.
regional. Regional points are displayed once you start to zoom into the map and start to see details of a large region. This is generally useful when you are planning travel around an entire country.
local. Local points are only shown when you zoom further into the map. You may want to create local visibility points to indicate anchorages.
If all points are created at global visibility the display can become quite cluttered as you zoom out. By assigning regional or local visibility to points, as appropriate, you can manage this display clutter.
