
The Points and Routes tool can be used to create: points, routes and position reports. This page describes the first of these, points, also known as way points.
Undo is supported for all of the following operations.
Creating points.
When the Points and Routes tool is active, any click on the map, on empty space, will bring up a menu:
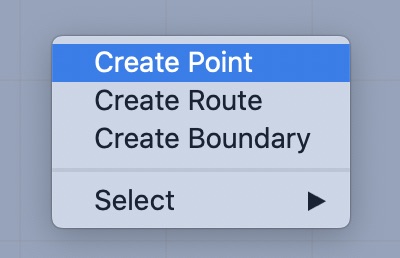
To create a new point, select the Create Point menu item. A new point will be created at the location you first clicked down on the map.
(Also, see the Create points editor, below.)
Editing points.
If a point does not have a locked position, you can move it by clicking on it and dragging it to the location you want.
The point can also be edited and deleted in the tool via a menu which is available. As in the remainder of the system, the way you bring up the menu for an object, is through one of the following techniques:
- double click on the point.
- hold down the control key as you click on the point.
- perform the right button click gesture, by performing a two finger press using the trackpad, on the point.
When you bring up the menu for a point, the menu you see will be:
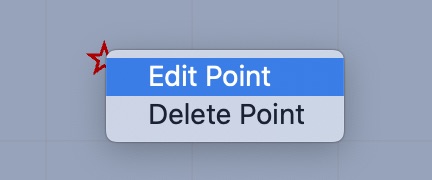
There are several properties which can be specified for a point. Open the edit menu to see them:
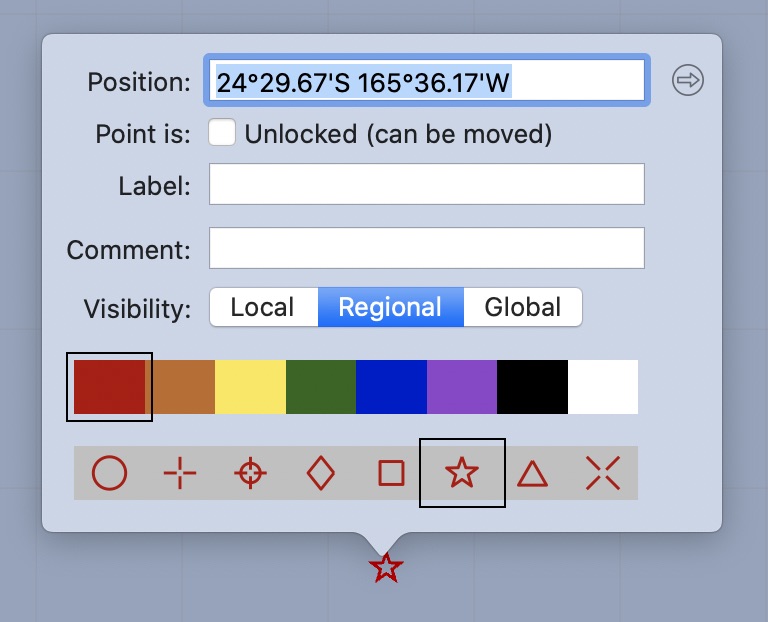
This editor allows you to:
- edit the points location by providing a new value.
- lock a points position.
- give the point a label. Labels are drawn in the view.
- provide a comment for a point. Comments are not drawn.
- specify the visibility for a point, described below.
- change the points color.
- change the symbol used to draw the point.
Point visibility.
You can also specify the visibility for a point, which can automatically hide and expose a point depending on the map zoom level. The three visibility levels available are:
global. Global points are displayed regardless of the map zoom level. Use this value for points you want to always be visible.
regional. Regional points are displayed once you start to zoom into the map and start to see details of a large region. This is generally useful when you are planning travel around an entire country.
local. Local points are only shown when you zoom further into the map. You may want to create local visibility points to indicate anchorages.
If all points are created at global visibility the display can become quite cluttered as you zoom out. By assigning regional or local visibility to points, as appropriate, you can manage this display clutter.
Create points editor.
If you know the latitude and longitude of a point you want to create, the easiest way to create it is through the Create Points editor:
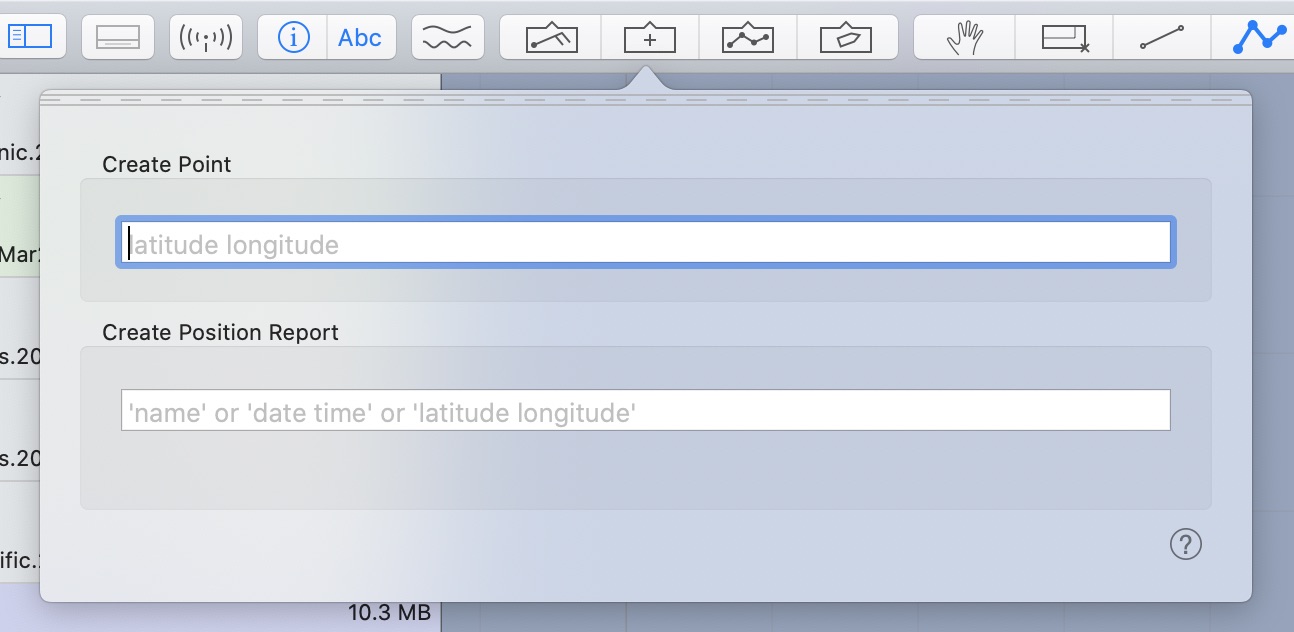
When the editor is shown, simply type in the latitude / longitude you want into the top field. The coordinate can be entered in a variety of ways, the editor is quite flexible.
All of the following lines of input create the same point:
35 30 s 134 15 e
35 30 134 15 SE
35 30 S 134 15
-35 30 134 15
s 35 30 e 134 15
35.5 s 134.25 e
-35.5,134.25