After providing the performance information for the vessel, you will note that the system is now guiding you again, informing you that there is missing starting information:
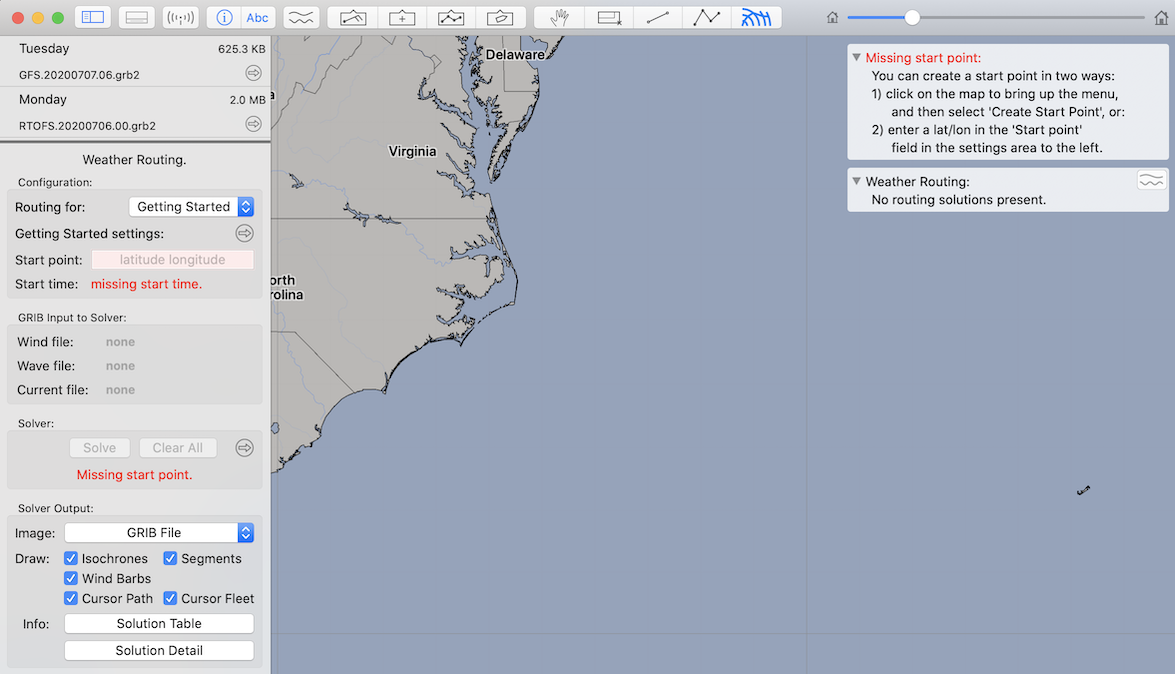
One of the essential pieces of information for the weather router is, of course, the start position and time for the route you are planning.
Creating a start point.
Note that the system is prompting you with directions, in the top right corner of the screen. These hints appear from time to time when the system detects a problem.
You can specify the starting point in two main ways (a third is discussed in the user manual when talking about the integration of weather routing and manual routing.)
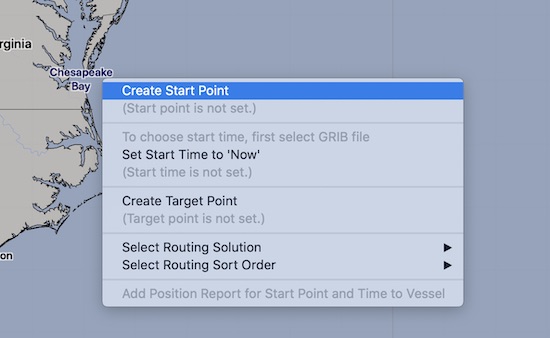
If you know the lat / lon of the start point, simply type it into the start point field in the configuration area. Alternatively, you can click on the map in the approximate area of the start, and then select Create Start Point from the menu:
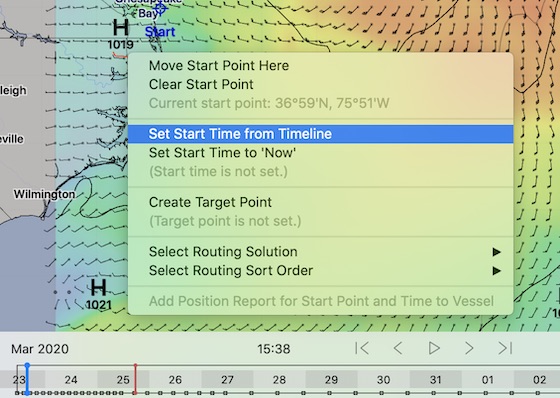
You can move the start point that has been created by clicking on it and dragging it around.
Setting the start time.
In order to set the start time, you need to have the GRIB file selected that you want to use with weather routing. With the GRIB file selected, adjust the GRIB timeline to the start time you want.
Again, bring up the menu, as shown below, and select the item: Set Start Time from Timeline
Also, note that if you have a specific start time in mind, you can specify it more precisely using the GRIB time editor, available by clicking on the reveal button on the timeline itself:
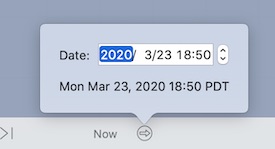
After setting the GRIB time to what you want, use the menu, shown above, to set the routing start time from the timeline.
Ready!
After setting the starting time you will notice that the system is now ready to run its first weather routing solution.