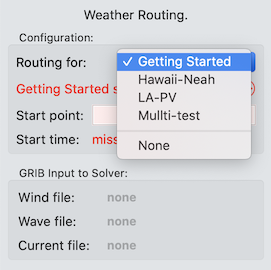
After creating the vessel to be used in this guide, click on the Weather Routing tool in the toolbar. The first setting in the configuration area allows you to choose which vessel you want the solver to work with. Make sure the popup menu at the top of the configuration area, the one labelled “Routing for,” is set to the vessel you just created.
You will now see something like this:
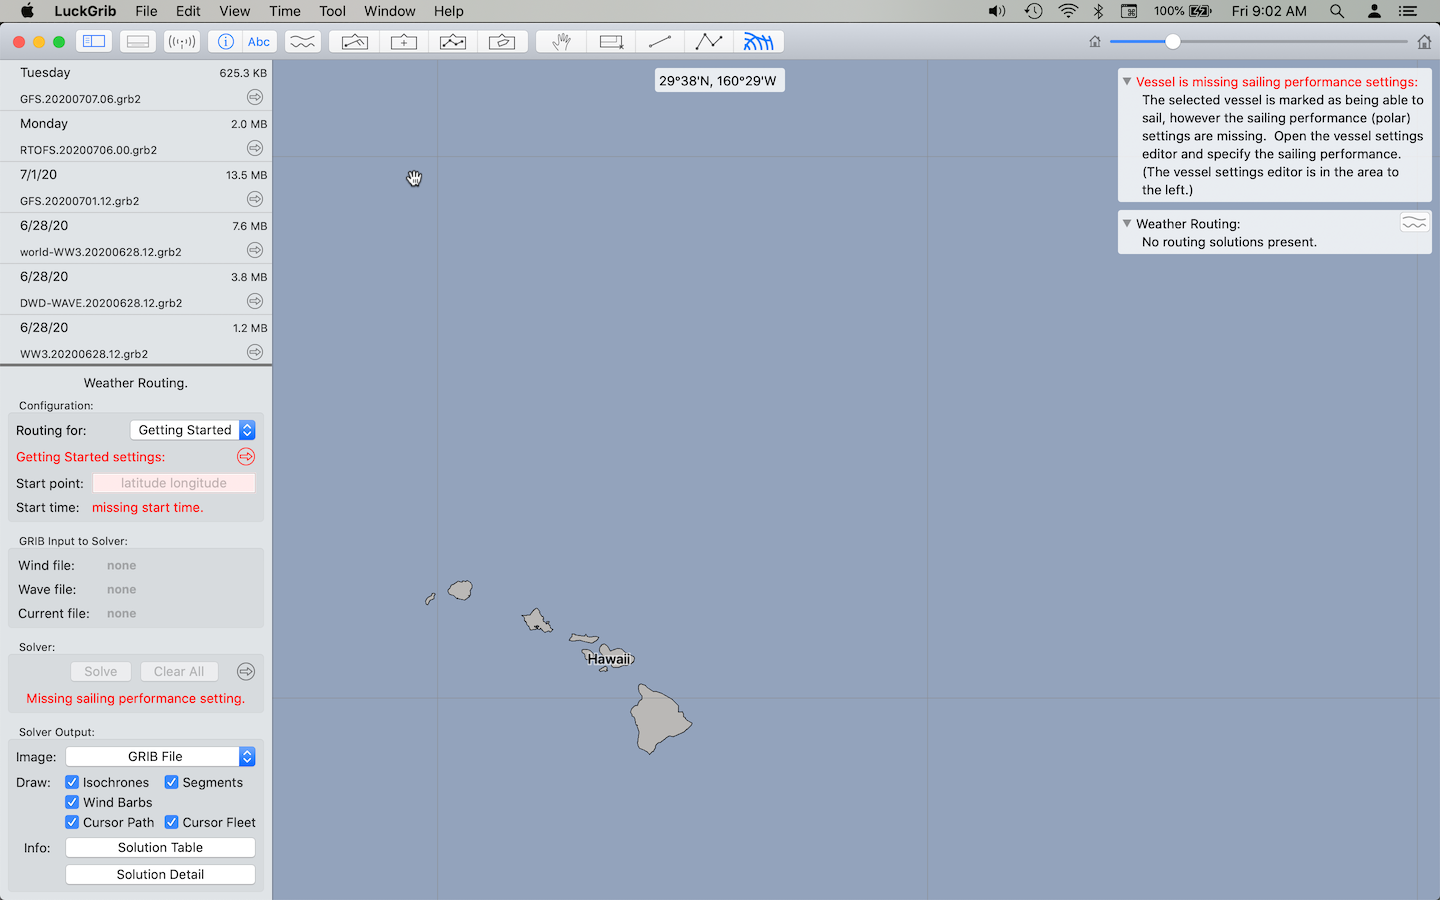
All of the text in red is warning you that there are missing details. These missing details are required before you can start producing your first weather routes.
Before moving onto the next topic, which is where all of this missing information will be provided, try one last thing.
Click down on the map. While the weather routing tool is active, each time you click on the map a menu will appear. The content of this menu will vary somewhat depending on what you click on (a point, a route or empty space) and what is selected.
Note that, as with all of the tools in LuckGrib, the context menu mentioned above may be brought up slightly differently, depending on if you are using a mouse or the touchpad. When using a mouse, the menu is available through a right click, or option click. When using a touchpad, such as with a laptop, a simple click will bring up the menu.
When no weather routing solutions are present, and you click on empty space, you will see something like this menu:
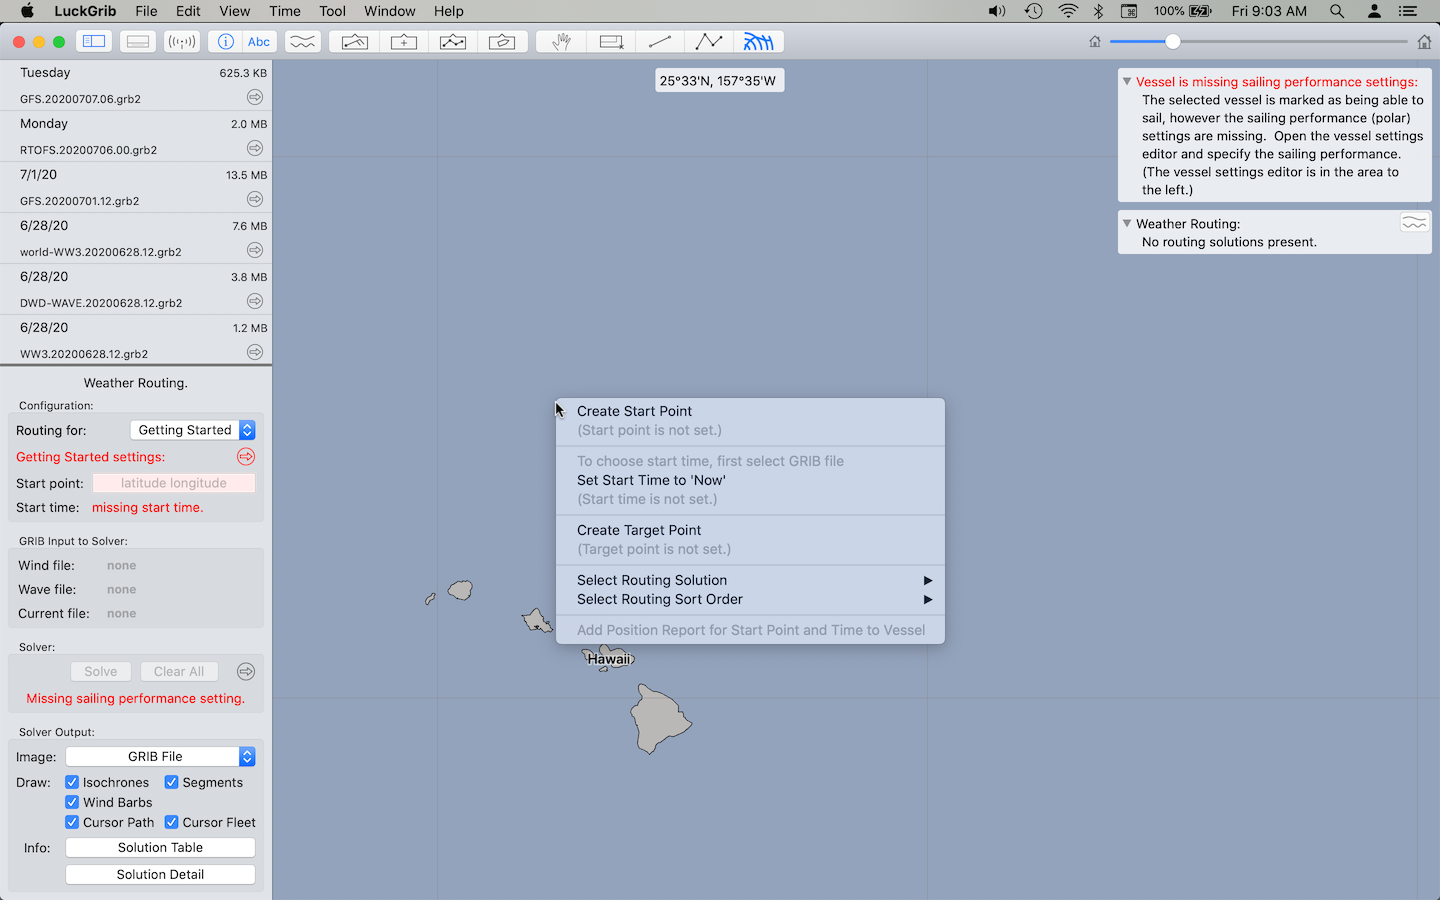
This menu is an important interface to the Weather Routing system. You may read elsewhere in this series of documents something like: open the weather routing menu. This is how that’s done, by clicking, or right clicking on empty space in the weather routing tool.